Hi! As you can see I’m still obsessed with transforming my Dr. Martens boots. If you read Part 1 on how to dye leather boots (here), then you already know that I felt that my last boots project came out too dark. I dyed cherry red Docs using an oxblood-colored dye and the resulting color was gorgeous, but looked nearly black. So here I am at it again with Part 2 on how to paint leather boots. I’m painting some old gray boots. And I’m wanting that original cherry red back!
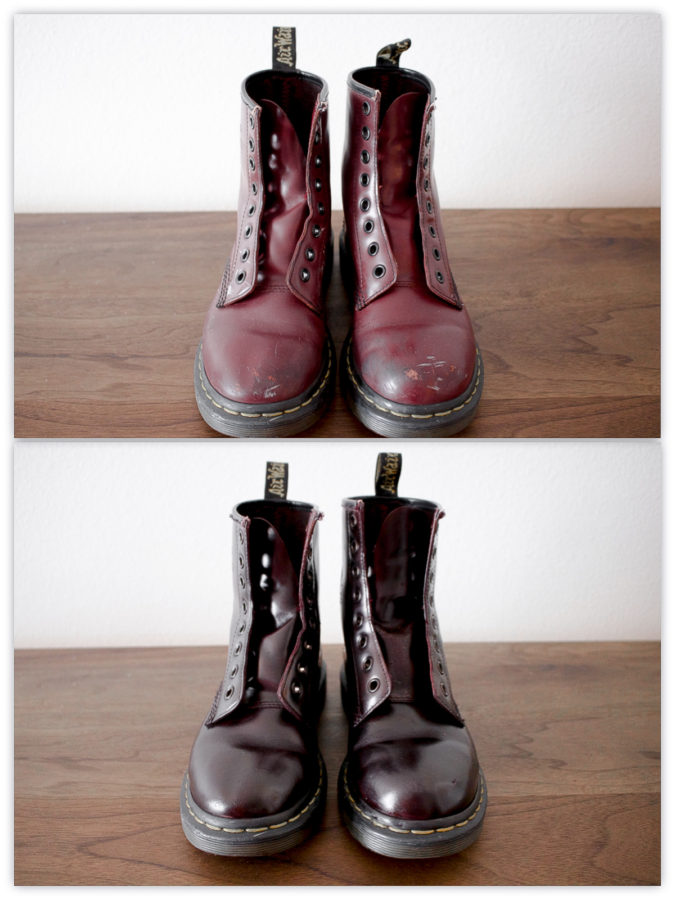
Painting vs Dyeing Leather
The main difference between painting and dyeing leather is that paint sits on the surface of the leather, while dye penetrates the leather. Whatever I’m painting will turn out to be that color. With dyeing, the color that I get will depend on the type of leather and the color of leather that I’m starting with. My cherry red Docs were already pretty pigmented to start with, which is probably why they turned out so dark. Plus, oxblood is just a dark, rich color in general.
Also, paint is definitely more forgiving. If I accidentally get a drop of paint on the wrong spot, I can wipe it off with a damp cloth. Any mistakes made with dye are pretty regrettable and irreversible!
Today I’ll show you how to paint leather boots. I’ll be transforming these scuffed up gray Docs into super cute red Docs:
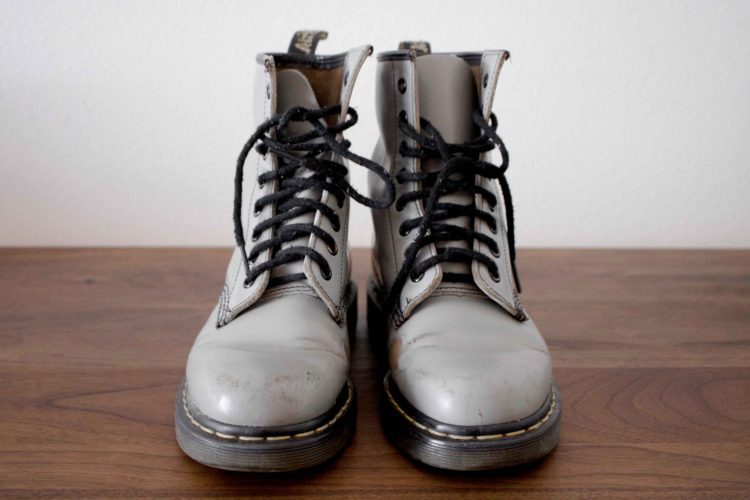
Supplies:
-Leather paint (I used Angelus leather paint in Autumn Red)
-Acetone, rubbing alcohol, or leather deglazer
-Cloths
-Painter’s tape or masking tape
-Sponge paint brush
-Small, fine paint brush
-A plastic cup or bowl to hold your paint
-Leather shoe polish (I used Dr. Martens Cherry polish)
-Leather shoe brush
–Acrylic paint finisher (I actually skipped this)
Step 1. Prepare the Boots
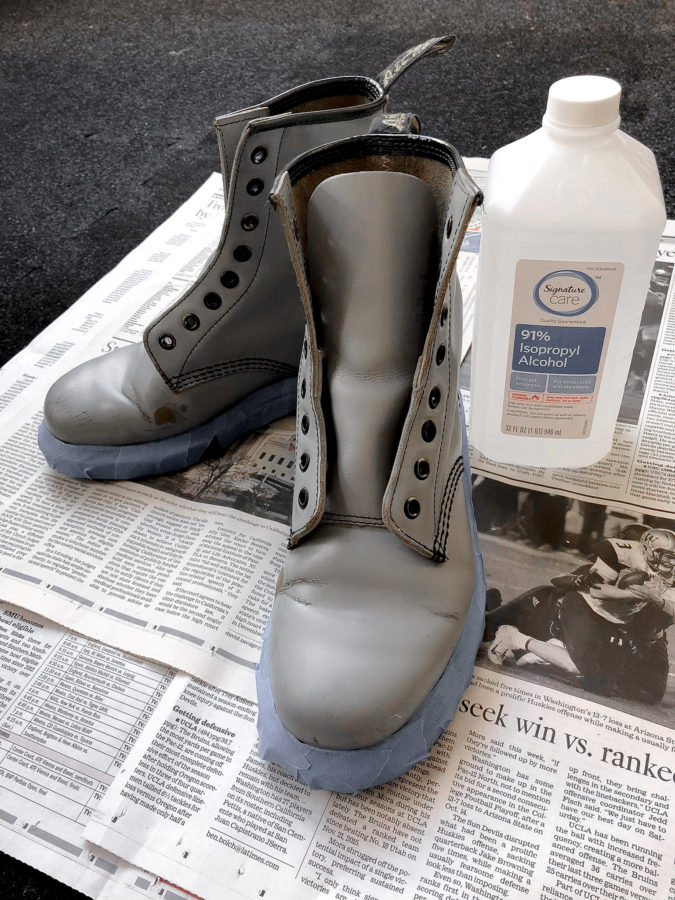
Preparation for painting leather boots is the same as if you are dyeing them. I cleaned the boots with a shoe brush and a little bit of warm water. Once they were dry, I “stripped” the existing dye with rubbing alcohol. This step is really important for making the paint stick to the leather, so I really went at it.
Then I applied tape to the areas where I wanted to avoid painting. I used Opi Glitter Off Natural Peel Off Base Coat on the lace eyelets to protect them from being painted, but I’m not sure it worked.
Step 2. Paint the Boots
Painting the boots was really fun. I poured a little bit of paint into my red Solo cup and went at it with a sponge brush. Application was pretty smooth and not streaky, and the Angelus leather paint was super easy to work with.
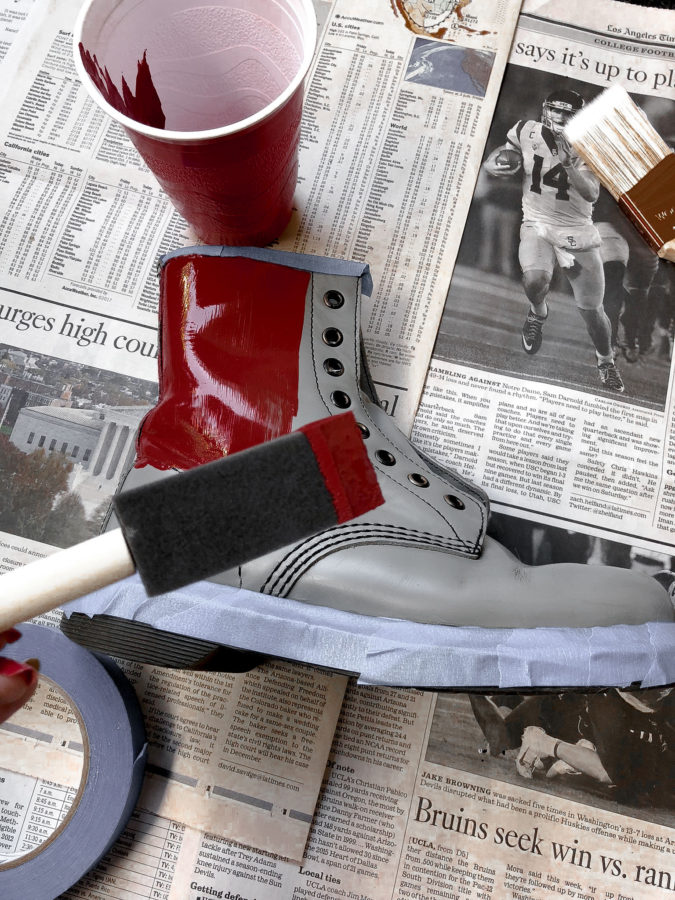
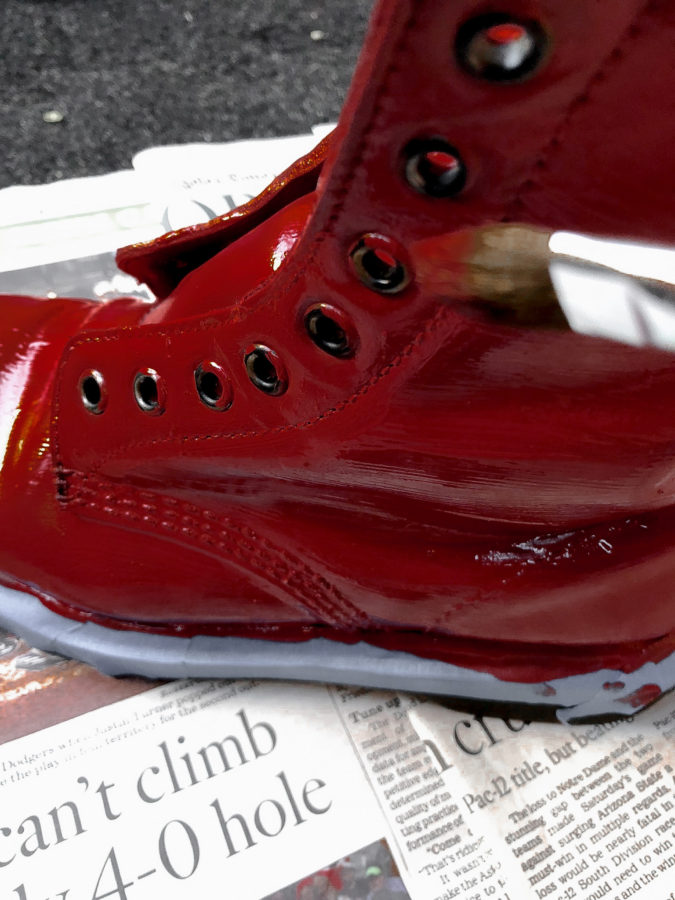
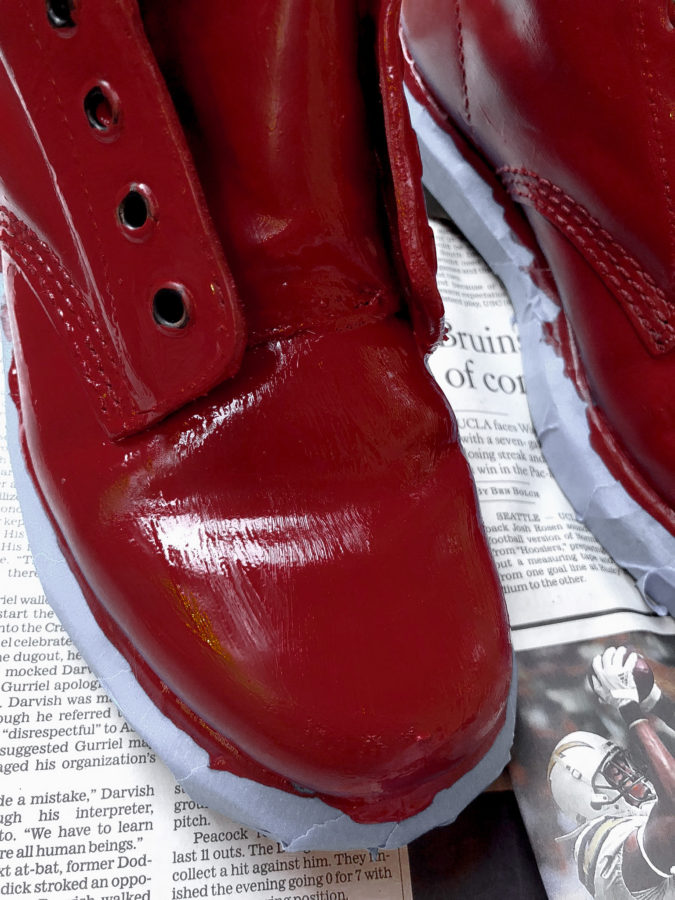
I applied two coats, and made sure the paint was dry in between coats.
Step 3. Touch Up the Bad Spots
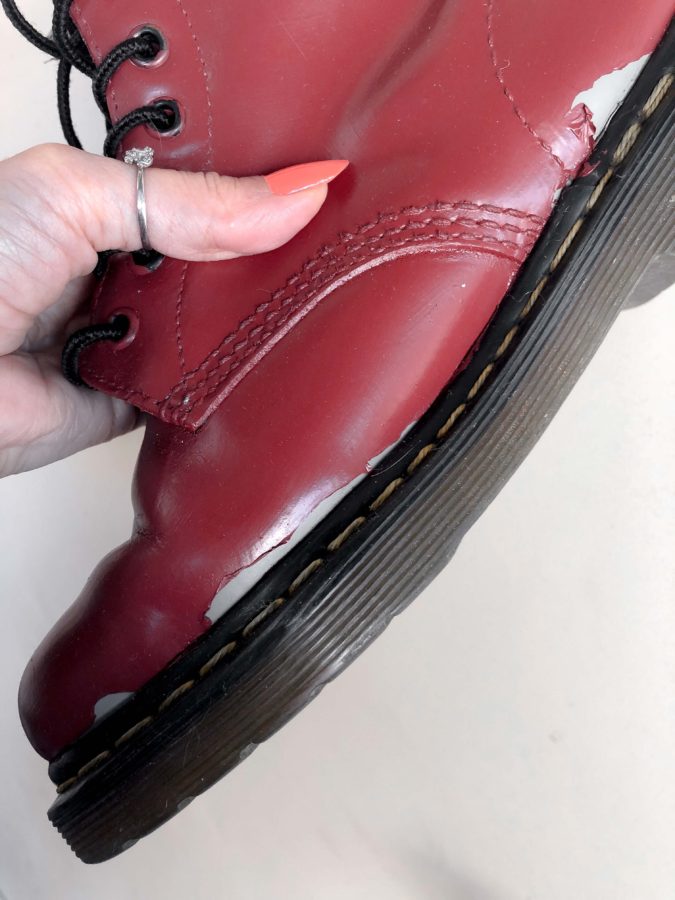
Once the second coat was dry, I carefully (so I thought) removed the tape. My tape actually pulled off some of the paint near the soles and I was alarmed by how easy it seemed to peel off. But again, don’t worry, I just used a small paint brush and touched up the spots with two coats.
Just FYI, Autumn Red is similar to the original cherry red color of Dr. Martens, except it is a bit redder and not as burgundy.
Step 4. Finish and Polish the Boots
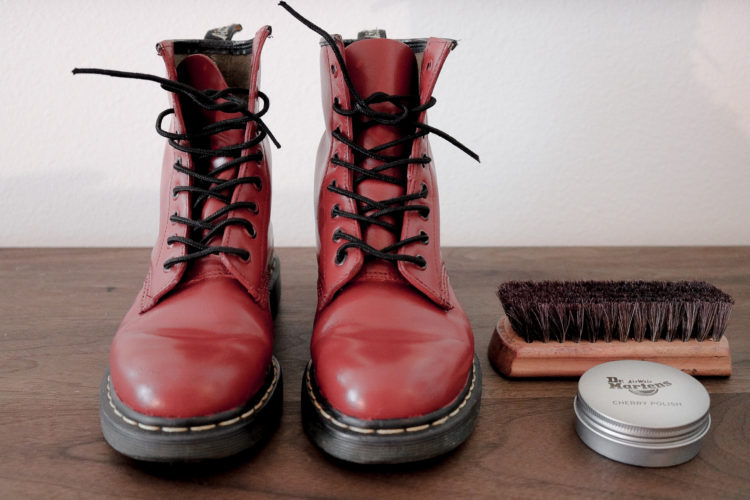
It’s recommended to apply an acrylic paint finisher, but I skipped this step. The finisher is supposed to protect the paint from scuffs and probably peeling, so it seems like a good idea especially if you are planning to wear the boots a lot. It also comes in matte or gloss. My Docs are not in my usual rotation of footwear, so I felt okay about skipping it.
I just polished the boots and I was done!
Step 5. Show Off Your “New” Boots
Here I am in my red Docs as seen on IG:


Step 6. Find More Shoes to Paint and Dye
The Angelus acrylic paint is fantastic for customizing sneakers, bags, belts, saddles, holsters, etc. While doing research for this blog post I saw so many inspiring pictures and videos of people who customize their Jordans and other Nikes. Here’s my humble sneaker modification start:

Thanks so much for reading! I hope this post gave you a little bit of insight on how to paint leather shoes. Let me know if you decide to take on a leather dyeing or painting project!
10 responses to “DIY (PART 2): HOW TO PAINT LEATHER BOOTS”
thanks for sharing. the boots look so beautiful after
The Glossychic
OK, I am blown away by how great this pair turned out as well! I would have a hard time picking a technique–both the painting and the staining produce beautiful results! BTW, I love that you painted over the pink Nike sign–it looks amazing right now!
Xoxo,
Marieta
http://www.ootdinstyle.wordpress.com
I still can’t believe how easy you make this look!!! I need to start doing this!
http://www.stylebymemory.com
This is so good babe! I love the new color you painted them. Thanks for sharing your steps with us. You are rocking these boots well too.
Xoxo
http://www.stylemefancy.com
That is the most sloppy paint job on any boots i have ever seen. Anyone that wants to do a custom paint job on leather boots should first use some acetone to remove the factory paint protective coat before applying the new paint job. You shouldn’t have painted the stitching so much because it looks really unprofessional and the brush strokes are so freaking visible. I give this custom 1/10 and not even using any matte finish? Oh c’mon anyone can do better. This just ruined the shoes in my opinion.
I’m sorry, I really wanted you to like them. I’ll have to check out your blog or video.
Don’t listen to him. They’re beautiful and he’s being rude and disrespectful for no reason. You did amazing
Unnecessary to be rude. Give constructive criticism in a positive way or don’t comment
I was given a pair of boots that are light brown and the color texture is made to look like it’s worn in and faded. I want to make them purple. I don’t want to go too dark but I don’t want it too flashy. I may just go with a light purple dye because I’m worried the paint would scrape off too easy. Thanks for the instructions!
I think the light purple dye will work out great! Hope it turns out great! Thanks for stopping by!