Hello! I’m sorry I have been away from the blog for the past month. Things were super busy in October, so thank you for coming back and checking in. As you can see, I have a different type of post today…a DIY!
I scored some pre-owned cherry red 8-eye Doc Martens boots for $13, and decided to dye them because they were pretty beat up. I actually think Docs look awesome when they are scuffed up and look like they’ve had their share of run-ins in the mosh pit, but I was a little bothered by the fact that none of these scratches was made by me. So I decided to dye them oxblood, and in this post I’ll show you how to dye leather boots.
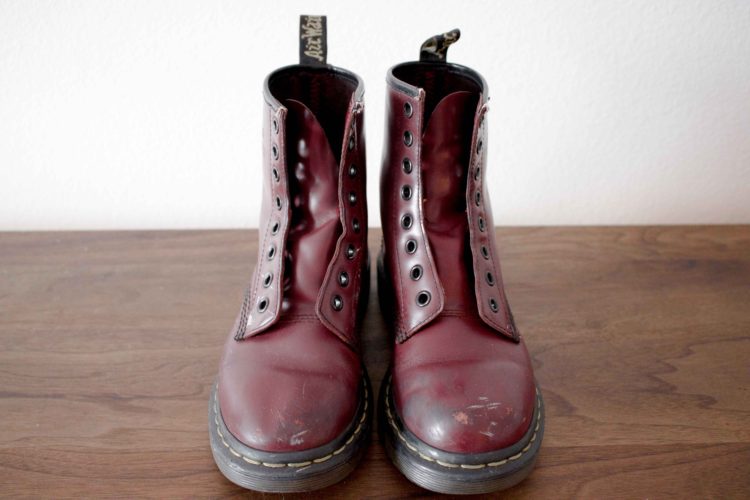
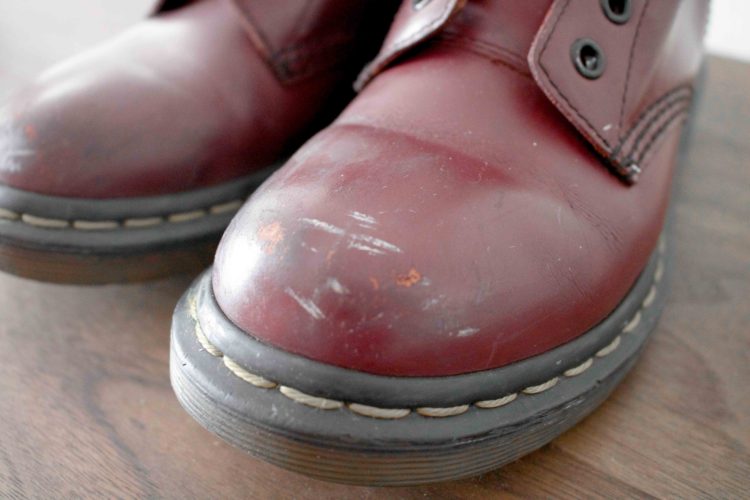
I thought I’d walk you through the dyeing process in case you get the itch to dye a pair of your own leather shoes. Dyeing anything used to sound so intimidating to me, but it’s actually really easy, inexpensive, and fun. First, you need to gather everything you’ll need.
What You’ll Need:
-Leather dye (I used Angelus in Oxblood; they have a lot of nice colors)
-Shoe polishing brush
-Painter’s tape or masking tape
-Rubbing alcohol or acetone
-Cloths
-Newspaper to protect your workspace
-Gloves are recommended
-Leather polish (I used Dr. Martens Cherry polish)
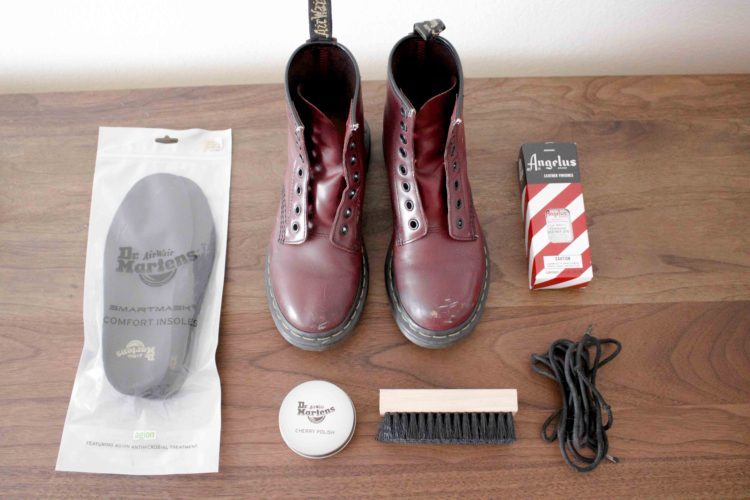
Step 1. Clean the Boots
Remove the laces and use the brush to scrub off any dirt and dust. Make sure to clean the tongue and around the soles because lots of dirt gets trapped in there. Next, dip the brush in warm water and give the boots a gentle cleanse to loosen up and remove dried-on dirt particles. If the leather feels wet, allow the boots to dry completely.
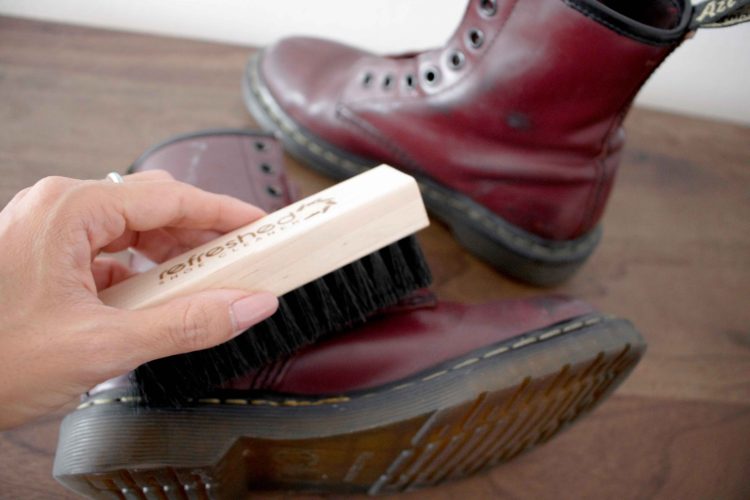
Step 2. Deglaze the Boots
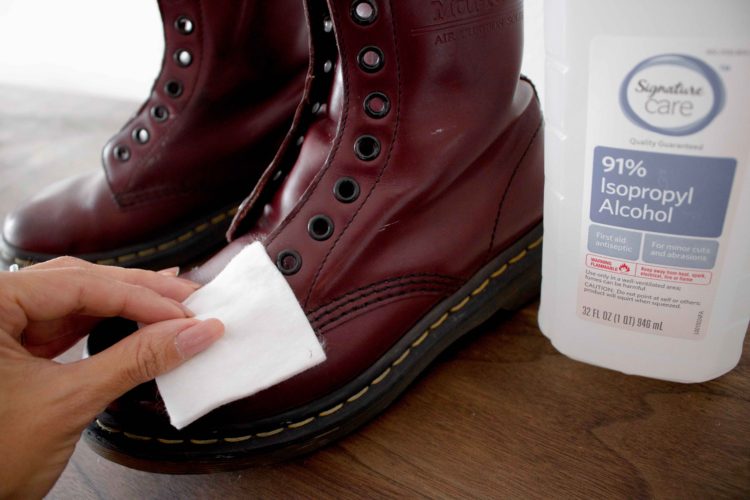
Using a cloth, wipe down the boots with rubbing alcohol, acetone, or leather deglazer. This step breaks down the original finish on the leather and prepares the surface for the dye to “stick.” This is an important step, so take your time and be thorough. It’s normal to see some of the original dye come off on your cloth.
Step 3. Tape the Boots
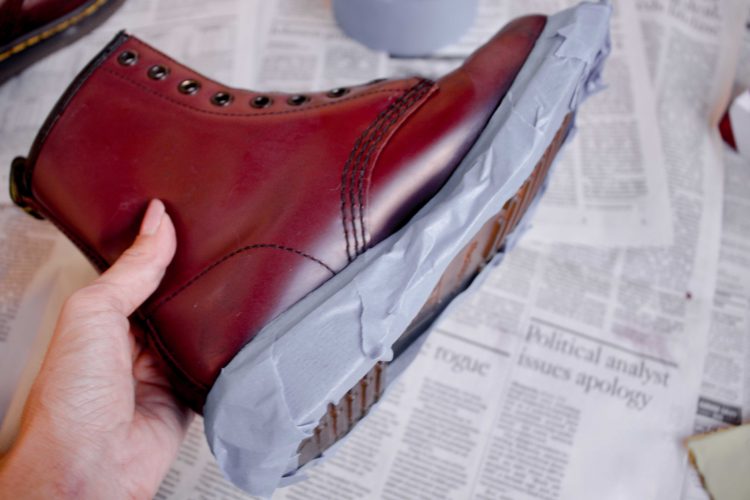
Apply painter’s tape around the soles and any other areas where you want to avoid dyeing.
Step 4. Apply the Dye
Now the fun part! Make sure you have newspaper or some other type of covering spread out over your work area. This stuff can get super messy. You might want to put on some gloves too.
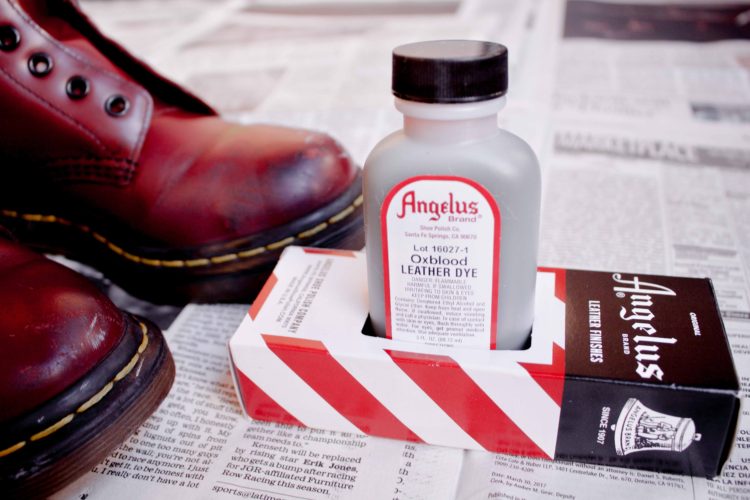
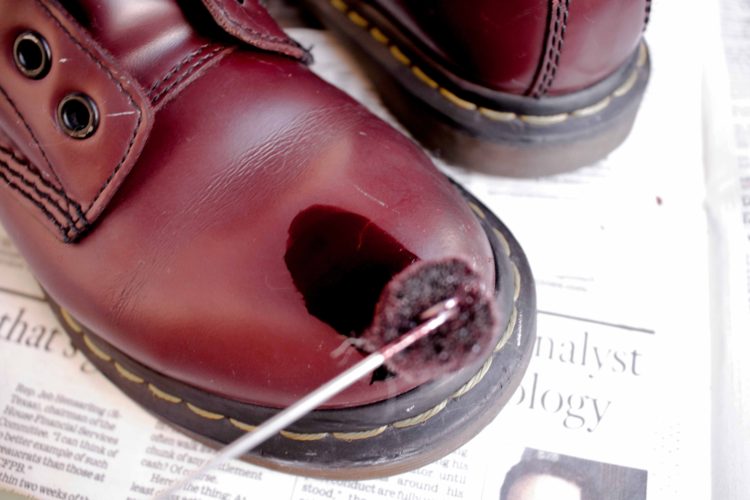
Shake the bottle of dye before opening. I carefully dipped the wool wand that came with the dye into the bottle and applied it to the boots. At first I was alarmed by how dark the color was, but too late to turn back. I also found that it went on very streaky, but that’s because I didn’t know you’re supposed to apply it in a circular or swirling motion. I eventually ditched the wand and just used a cloth and got more even coverage.
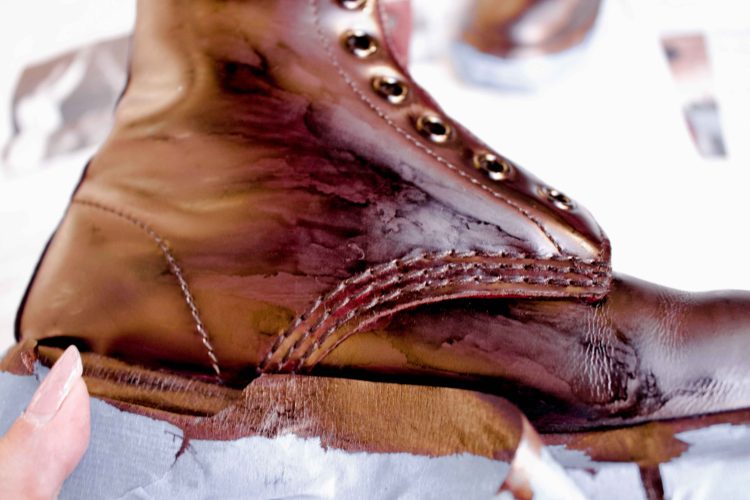
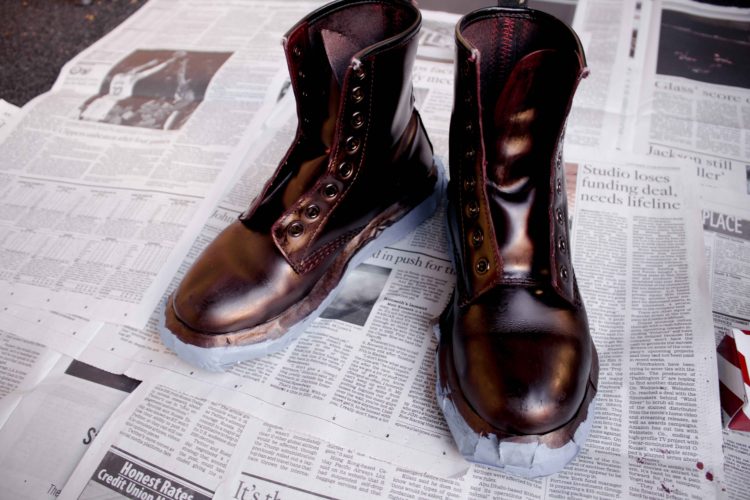
Step 5. Polish the Boots
Once the shoes have dried overnight or for 24 hours, it’s time to polish them. I used the Dr. Martens Cherry polish to restore some of that original pretty red into the leather. Apply the polish with a cloth, wipe off the excess, and use a brush to get the leather to shine.

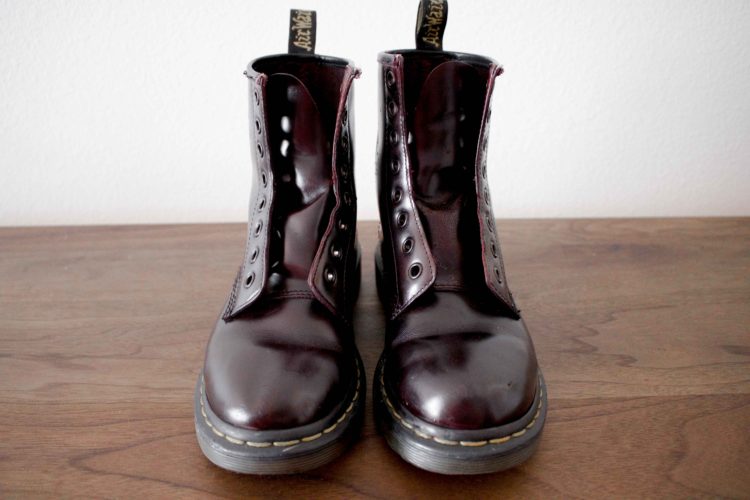
Step 6. Add Finishing Touches
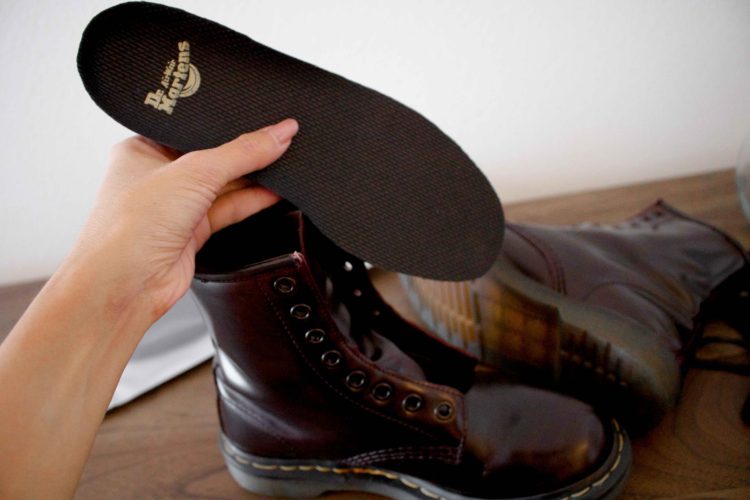
This is optional of course. I inserted brand new soles (so comfy!) and added new laces.
Step 7. Show Off Your “New” Boots
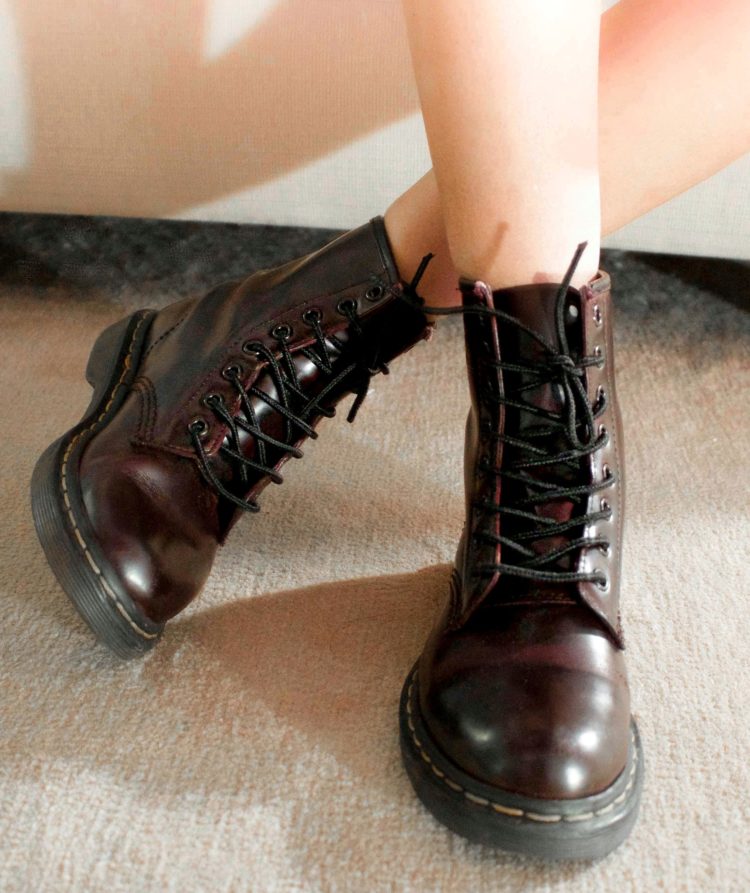
That’s it! Super easy.
Stay Tuned…
Okay, so I have to say that these boots came out a lot darker than I had wanted. The oxblood is dark and rich, especially on leather that is already pretty heavily pigmented. It’s a beautiful color, but now I think I want red boots again…
Which is why I’m going to paint these gray Docs with red paint:
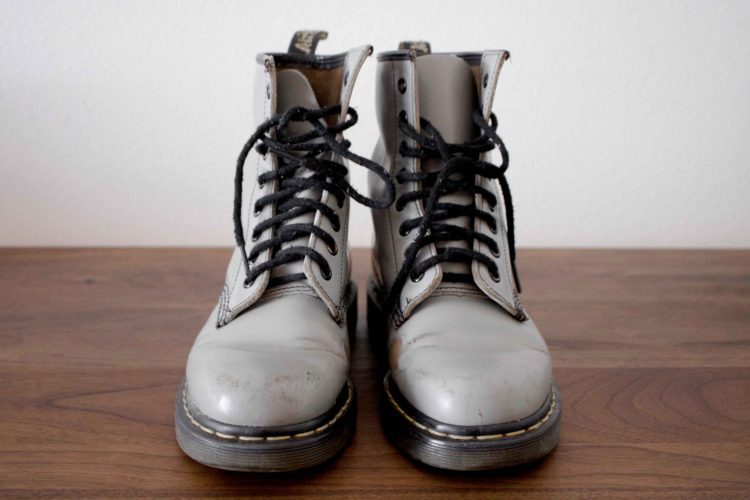
Painting leather is slightly different from dyeing leather…I’ll let you know how it goes, so stay tuned!
Thanks so much for stopping by! I hope this gave you a little bit of an idea on how to dye leather boots. What color would you want to dye or paint any of your shoes?
13 responses to “DIY (PART 1): HOW TO DYE LEATHER BOOTS”
Omg, this is amazing!! I would NEVER think to do this, or think that I’d be able to do it!! Thanks for sharing
http://www.stylebymemory.com
Wow I love this post and how the boots turned out! I’ll know what to do the next time I have some beat up boots on my hands. Dye them! Thanks so much for sharing this with us babe.
Xoxo
http://www.stylemefancy.com
Hi Jenny,
These came out so amazing! Did the process take a long time overall? You sure are making me want to give this a shot… Move over new boots–the old favorites are still alive and coming to you with a fresh coat of stain!!
Thank you for the cool tips!
Xoxo,
Marieta
http://www.ootdinstyle.wordpress.com
Amazing! Great tips! Thanks for sharing!
http://chicglamstyle.com
Omg! Love how they turned out! The perfect boot!
xo Kathryn
Hi Jenny, thank you very much for this post. Unbelievable how the boots changed with using of this product, they look like new ones! I hope to find some similar product in our swiss market. Kisses, Martina
Loving your style! You are so chic. Would you like to follow for follow on Bloglovin? 🙂
Xx,
http://beatricebalaj.com/
I’ve just copied this and my boots look brand new! Fab instructions thank you!
So happy to hear that! Thanks for letting me know! 🙂
Did it the wrong way and ruined them. Looks like crap
There’s no right and wrong way. “Crap” is an exaggeration, no?
Did the creases fade to red after you wore them a lot? I’m going to dye some purple ones and I’m curious if it’ll look cool & faded purple later on.
Came across this as I have some very scuffed Cherry Docs. I actually really like the colour yours turned out. Thanks for the post!!